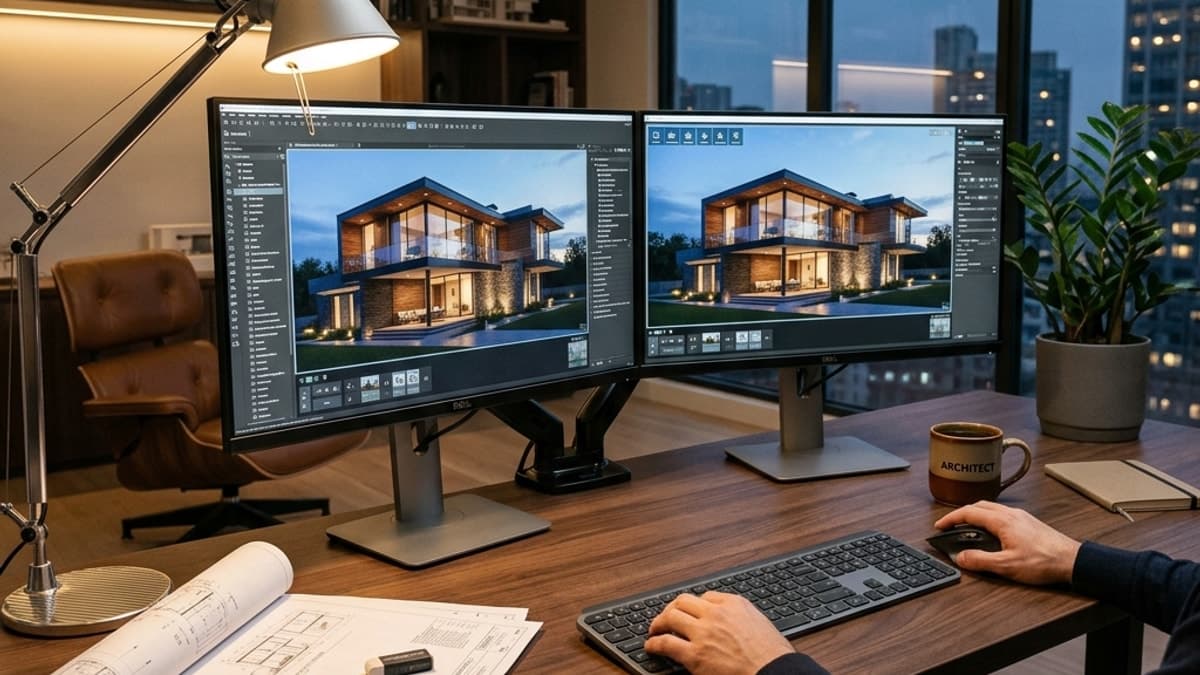
SketchUp is one of the easiest ways to start creating 3D models, but the first few minutes can still feel unfamiliar. You are working in a three-dimensional space, every line can affect nearby geometry, and even simple tools behave differently from a typical 2D drawing program.
This beginner SketchUp tutorial walks through the fundamentals by building a simple room from scratch. By the end, you will know how to navigate the viewport, draw accurately, create a floor and walls, make door and window openings, extrude geometry, organize your model, apply materials, and prepare useful views.
You do not need any previous 3D modeling experience.
Key Takeaways
- SketchUp models are built from edges and faces.
- The red, green, and blue axes help you draw and move objects accurately in 3D.
- Rectangle, Line, Offset, Push/Pull, Move, and Tape Measure are the most useful tools to learn first.
- Groups and components prevent geometry from sticking together and make larger models easier to edit.
- A simple room is a good first project because it teaches the same fundamentals used in architectural and interior models.
What Is SketchUp?
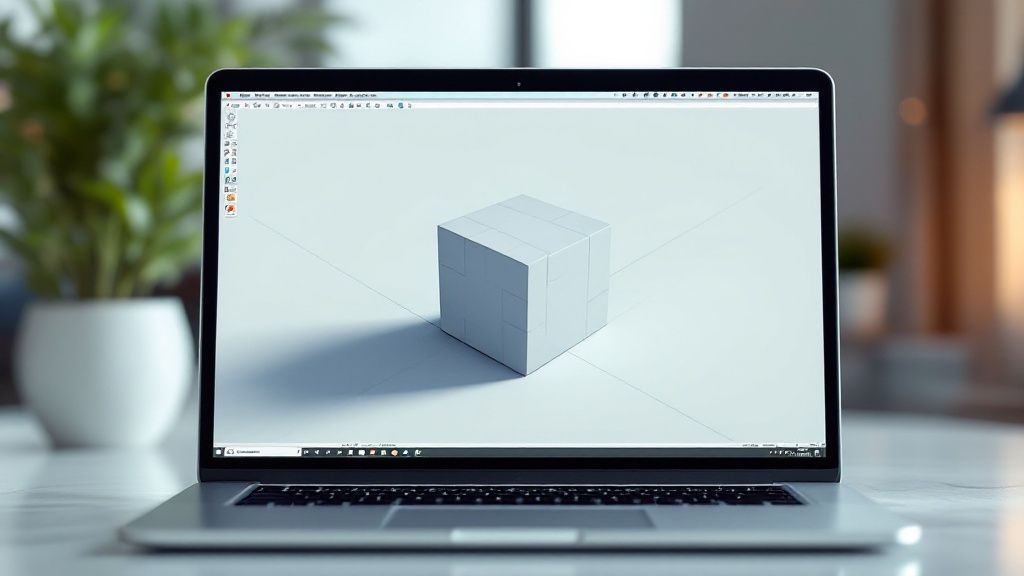
SketchUp is a 3D modeling application used for architecture, interior design, furniture, landscape design, construction, product concepts, and many other types of spatial design.
Its basic modeling logic is simple: draw 2D edges to create a face, then turn that face into a 3D form.
For example:
- Draw a rectangle.
- A flat face appears inside it.
- Use Push/Pull to give that face height.
- You now have a 3D box.
That draw-and-extrude workflow is the foundation of a large part of SketchUp modeling.
SketchUp Free or SketchUp Desktop: Which Should Beginners Use?
If you are learning the basics, you can start with either SketchUp for Web or the desktop version.
SketchUp for Web is convenient for beginners because it runs in a browser and gives you the core modeling tools needed for this tutorial.
SketchUp Desktop is better suited to more advanced or professional workflows where you may need extensions, larger project files, additional import/export options, or tighter integration with a production workflow.
The modeling fundamentals are largely the same. Learning how axes, inference, faces, Push/Pull, groups, components, materials, and scenes work will help you in either version.
Getting Familiar with the SketchUp Workspace
Before drawing your first model, learn three parts of the workspace.
The 3D Viewport
The large central area is the viewport. This is where you draw, orbit around the model, select objects, and make edits.
Use:
- Orbit to rotate around the model.
- Pan to move the view sideways or vertically.
- Zoom to move closer or farther away.
Getting comfortable with Orbit, Pan, and Zoom is one of the most important SketchUp fundamentals. A model can look confusing from one angle and obvious from another.
The Red, Green, and Blue Axes
SketchUp uses three colored axes:
- Red axis: one horizontal direction
- Green axis: the other horizontal direction
- Blue axis: vertical direction
As you draw or move geometry, SketchUp uses these axes to help you stay aligned.
Pay attention to the color of the inference line while moving the cursor. If a line turns blue, for example, SketchUp is telling you that the movement is aligned vertically.
The Measurements Box
You do not need to click inside the Measurements box before entering a dimension.
Start drawing or moving something, type the exact value, and press Enter.
For example, while drawing a rectangle you might type:
4000mm, 3000mm
SketchUp creates the rectangle at those exact dimensions.
This habit is much faster and more accurate than trying to draw everything by eye.
Essential SketchUp Tools for Beginners
You do not need to learn every tool at once. Start with these:
| Tool | Shortcut | What it does |
|---|---|---|
| Select | Space | Selects geometry and objects |
| Line | L | Draws straight edges |
| Rectangle | R | Creates rectangular faces |
| Push/Pull | P | Extrudes a face or cuts through geometry |
| Move | M | Moves or copies geometry |
| Rotate | Q | Rotates selected geometry |
| Offset | F | Creates an equidistant copy of connected edges |
| Tape Measure | T | Measures distances and creates guides |
| Paint Bucket | B | Applies colors and materials |
| Orbit | O | Rotates your view around the model |
Once these tools feel natural, most basic SketchUp modeling becomes much easier.
SketchUp Tutorial: Build a Simple Room Step by Step
Instead of starting with random shapes, we will build a small room. This gives you practice with the same modeling operations used in real interior and architectural projects.
For this example, we will create a room approximately 4m × 3m with 150mm walls and a 2.7m ceiling height.
You can use different measurements if you prefer.
Step 1: Start a New Model and Check the Units
Create a new SketchUp model and choose a template that uses the measurement system you normally work with.
For architectural work, millimeters, centimeters, meters, feet, or inches can all work. What matters is staying consistent.
Before drawing, make sure you can see the red, green, and blue axes and that you are looking at the origin where the axes meet.
Starting close to the origin makes the model easier to manage.
Step 2: Make the Floor in SketchUp
Select the Rectangle tool or press R.
Click once at the origin and move the cursor diagonally across the red-green plane.
Type:
4000mm, 3000mm
and press Enter.
You now have a flat rectangular face representing the floor area.
This is the simplest way to make a basic floor in SketchUp: draw a closed outline on a plane so SketchUp creates a face inside it.
If you are working from a real floor plan, you can use the Line and Rectangle tools to trace the required shape instead.
Step 3: Create the Wall Thickness with Offset
Select the Offset tool or press F.
Click the edge of the floor face and move the cursor inward. Type:
150mm
and press Enter.
You should now see a second rectangle inside the first one. The strip between the two rectangles represents the wall footprint.
Offset is particularly useful for architectural models because it creates a consistent distance around connected edges.
Step 4: Extrude the Walls with Push/Pull
Select the wall strip you just created.
Activate Push/Pull or press P.
Click the wall face, move the cursor upward along the blue axis, type:
2700mm
and press Enter.
The flat wall footprint becomes a 3D wall.
This operation is called extrusion. In SketchUp, Push/Pull is the main tool used to extrude a flat face into a 3D shape.
You can use the same technique to create cabinets, counters, slabs, furniture, building masses, and many other forms.
Step 5: Make a Door Opening
Orbit until you can clearly see one of the walls.
Select the Rectangle tool and draw a rectangle directly on the wall where you want the door.
For example, make it approximately:
- 900mm wide
- 2100mm high
You can use the Tape Measure tool to create guides first if you want the opening to sit a precise distance from a corner.
Once the door rectangle is drawn on the wall, activate Push/Pull.
Click the door face and push it through the full wall thickness until SketchUp snaps to the back face.
The rectangular section disappears, leaving a door opening.
This is one of the most useful Push/Pull techniques in SketchUp. The same method can be used to cut windows, niches, recesses, and many other openings.
Step 6: Add a Window
The process for a basic window opening is almost identical.
Use Tape Measure guides to position the sill and sides of the window.
Draw the opening with the Rectangle tool, then Push/Pull the face through the wall.
For example:
- Sill height: 900mm
- Window width: 1200mm
- Window height: 1200mm
At this stage, focus on getting the opening right rather than modeling a detailed frame.
Detailed windows and doors can be added later as components.
Step 7: Group Your Geometry
One of the first habits every SketchUp beginner should learn is to group geometry.
Raw SketchUp edges and faces can merge with other raw geometry when they touch. This is useful while creating a shape, but it becomes frustrating in a larger model.
Select the room geometry, right-click, and choose Make Group.
Now the walls and floor behave as a single object instead of loose connected faces.
A practical rule is:
- Use a group for geometry that should stay together as one object.
- Use a component for objects that will be repeated.
For example, the room shell can be a group, while repeated chairs, doors, windows, lights, or furniture pieces are usually better as components.
If you edit one instance of a component, the other instances can update with it.
Add Furniture with 3D Warehouse
You do not need to model every chair, table, sofa, plant, or appliance from scratch.
SketchUp's 3D Warehouse contains premade components that can be inserted into a model.
For a beginner room, try adding a few simple objects such as:
- Sofa
- Bed
- Table
- Chair
- Door
- Window
Keep the first model relatively light. Adding too many detailed components can make the file harder to navigate and distract from learning the fundamentals.
Once a component is placed, use Move, Rotate, and Scale to position it correctly.
Apply Materials and Textures
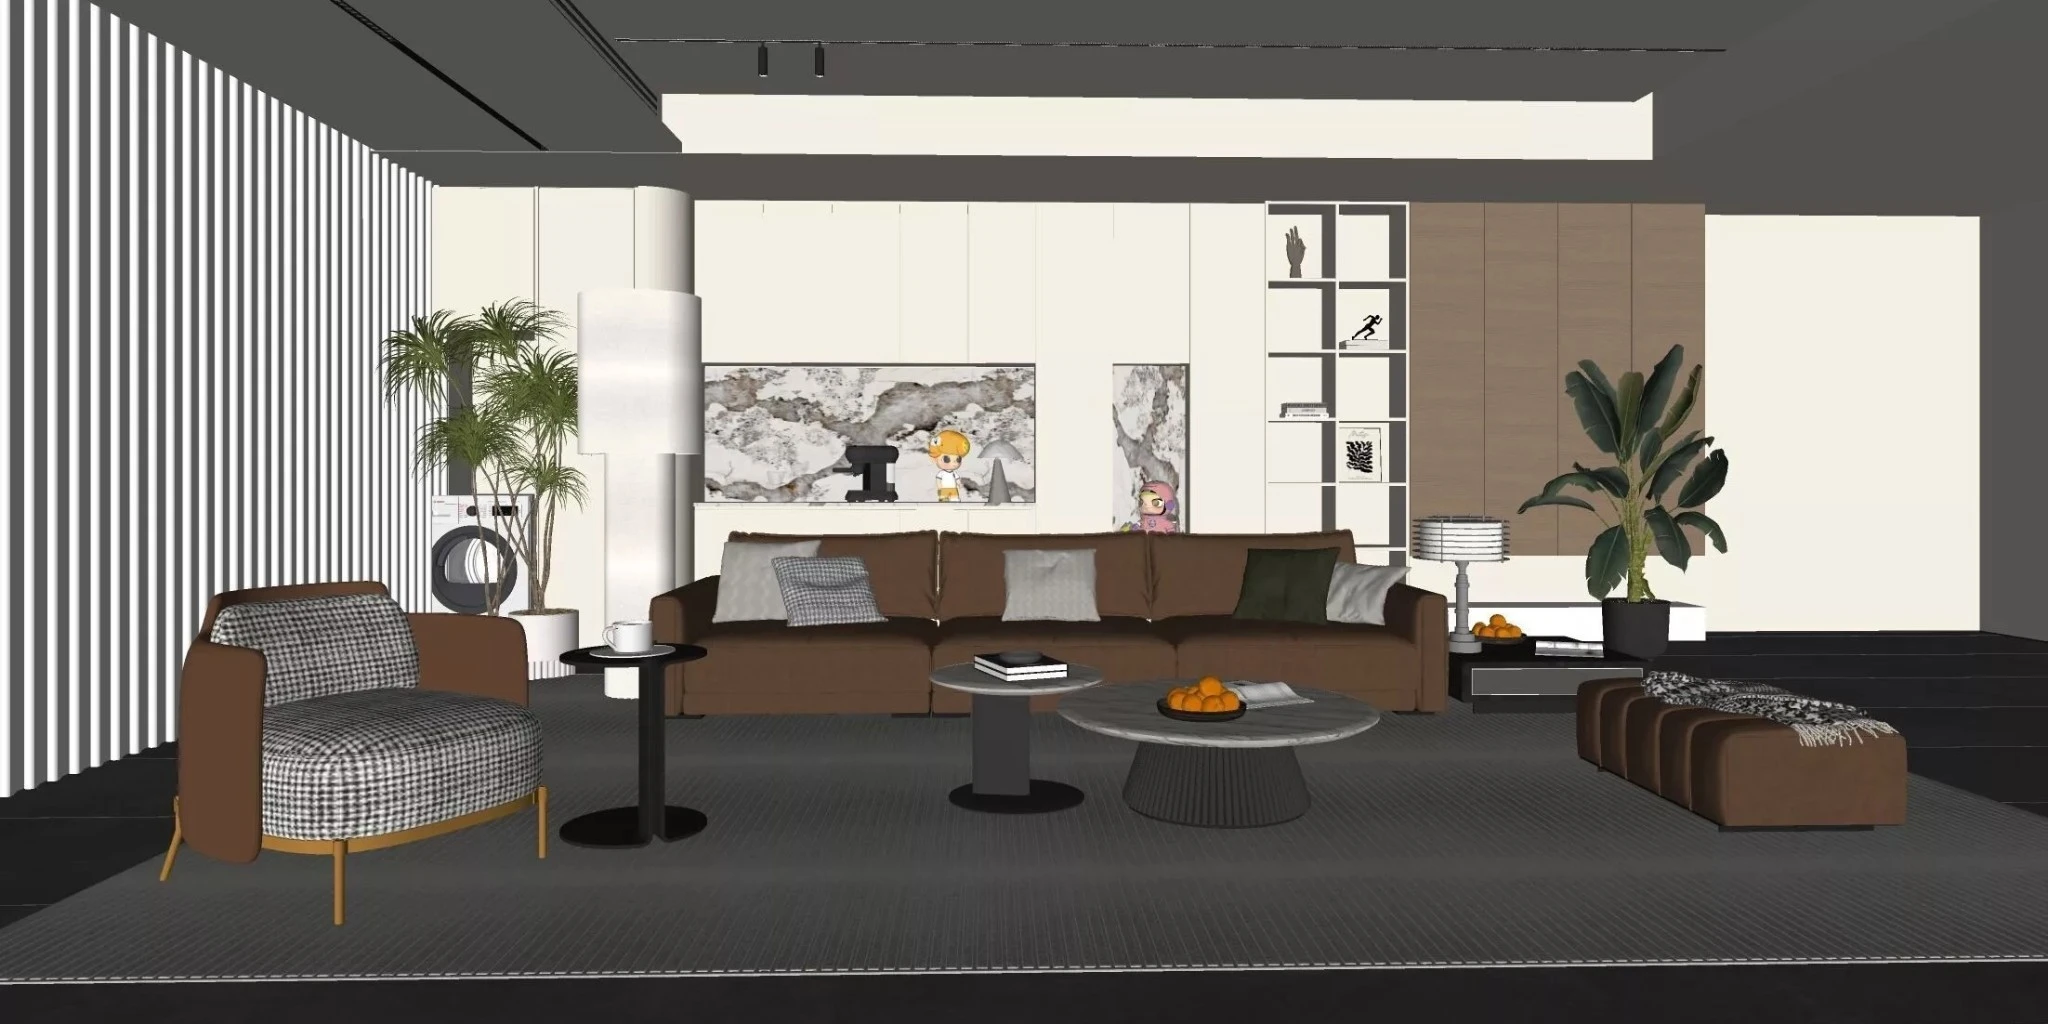
Select the Paint Bucket tool or press B to open the material options.
Apply simple materials to the major surfaces first:
- Flooring
- Walls
- Wood
- Glass
- Metal
- Fabric
The purpose at this stage is not to create a final photorealistic image. Materials make the model easier to understand and help communicate which surfaces are meant to be different.
Pay attention to texture scale. If a wood grain, tile, or stone texture looks much larger or smaller than it would in real life, the entire model can feel out of scale.
Use believable proportions before worrying about fine visual detail.
Use Groups, Components, and Tags to Keep the Model Organized
As your model becomes larger, organization matters.
A clean SketchUp model is much easier to edit than one made from a single mass of connected geometry.
A useful beginner structure might look like:
- Walls
- Floor
- Ceiling
- Doors
- Windows
- Furniture
- Lighting
- Decor
Create groups or components first, then use Tags to control their visibility.
Avoid assigning tags directly to loose edges and faces. Keep raw geometry on the default untagged state and assign tags to groups and components instead.
This makes it much less likely that parts of the model disappear unexpectedly while editing.
How to Select Similar Objects in SketchUp
Selection becomes more important as a model grows.
For basic geometry, right-clicking a selection gives you several useful selection commands. Depending on what is selected, SketchUp can select connected geometry or entities sharing the same material or tag.
For repeated components, you can also select all instances of the same component from the Components panel.
This is useful when you want to:
- Change several repeated chairs at once
- Select everything using the same material
- Find objects assigned to the same tag
- Replace repeated components throughout a model
Using components for repeated objects from the beginning makes these edits much easier.
Set Up Useful Views and Scenes
Once the model is built, orbit around it and choose the views you are likely to use again.
For an interior room, useful views might include:
- Eye-level perspective from the entrance
- View toward the main furniture arrangement
- Opposite corner view
- Top view or plan view
Save these as Scenes.
Scenes make it easy to return to the same camera position instead of trying to recreate it manually every time.
They are especially helpful when comparing design options, exporting presentation images, or preparing a model for rendering.
Common SketchUp Beginner Mistakes
Drawing Everything by Eye
Use the Measurements box. Exact dimensions are one of SketchUp's biggest strengths.
Ignoring the Axes
If geometry keeps moving in the wrong direction, watch the red, green, and blue inference cues.
Leaving Everything as Raw Geometry
Create groups early. Otherwise unrelated parts of the model can stick together.
Using Groups for Every Repeated Object
If an object appears more than once, a component is often the better choice.
Adding Too Much Detail Too Soon
Build the room, proportions, openings, and main objects first. Tiny details are easier to add once the basic model is correct.
Using Oversized 3D Warehouse Models
Some downloaded components contain far more geometry than you need. A few very heavy assets can slow down an otherwise simple model.
Applying Materials Before the Geometry Is Right
Materials cannot fix incorrect proportions. Get the model right first, then refine the appearance.
What Should You Learn After the SketchUp Fundamentals?
Once you can build a simple room comfortably, the next useful skills are:
- Groups and components for cleaner modeling
- Move and Rotate for accurate object placement
- Tags and Outliner for larger models
- Scenes for consistent views
- 3D Warehouse for faster furnishing
- Materials and texture positioning
- Section planes for plans and interior views
- More advanced tools such as Follow Me and Solid Tools
A good way to improve is to model a real room that you already know. Measure the walls, doors, windows, and major furniture, then reproduce the space in SketchUp.
That gives you a practical reason to use the tools rather than learning them in isolation.
From SketchUp Model to Photorealistic Render

SketchUp is primarily where you build and organize the 3D model. Once the model and camera view are ready, you can turn that view into a more realistic presentation image.
If that is your next step, read our guide on how to render in SketchUp. It covers the rendering workflow separately, including how to export a SketchUp view and turn it into a photorealistic render without making rendering the focus of this beginner modeling tutorial.
You can also explore AI rendering for SketchUp if you already have a finished model and want a faster route from viewport to presentation-ready image.
Frequently Asked Questions
Is SketchUp good for beginners?
Yes. SketchUp is approachable for beginners because most basic models can be created with a relatively small set of tools. Start with navigation, Line, Rectangle, Push/Pull, Move, Offset, Tape Measure, groups, and components before moving into more advanced features.
Is SketchUp free?
SketchUp offers a browser-based version that can be used for basic 3D modeling. Paid SketchUp plans add capabilities intended for more advanced and professional workflows. The core modeling concepts in this tutorial apply across the main SketchUp versions.
How do I use SketchUp for the first time?
Start by learning Orbit, Pan, and Zoom. Then draw a simple 2D shape such as a rectangle and use Push/Pull to turn it into a 3D form. Practice entering exact dimensions and grouping finished geometry before attempting a more complicated model.
How do I make a floor in SketchUp?
For a simple rectangular floor, use the Rectangle tool to draw the required dimensions on the red-green plane. For an irregular floor plan, use Line and Rectangle tools to create a closed outline. Once the edges form a closed boundary, SketchUp creates a face that can represent the floor.
How do I extrude in SketchUp?
Use the Push/Pull tool. Select or click a face, move it in the required direction, type the extrusion distance, and press Enter. Push/Pull can also be used to cut openings through geometry, such as doors and windows.
How do I make a door in SketchUp?
For a basic opening, draw a rectangle on a wall at the required door size, then use Push/Pull to push the face through the wall. If you need a detailed door leaf, frame, or hardware, you can model it separately or insert a door component from 3D Warehouse.
What are the most important SketchUp fundamentals?
The most important fundamentals are understanding edges and faces, using the inference system and axes, entering exact measurements, using Push/Pull correctly, organizing geometry into groups and components, and navigating confidently around the model.
How do I select similar objects in SketchUp?
SketchUp includes contextual selection options for geometry sharing properties such as a material or tag. For repeated components, the Components panel can be used to select all instances of the same component. Organizing repeated objects as components makes this much easier.
Can SketchUp create realistic renders?
SketchUp can display materials, shadows, environments, and increasingly realistic viewport styles, but many architecture and interior design workflows use a separate rendering step for final photorealistic output. See our step-by-step SketchUp rendering guide above for that workflow.